Homemade Peanut Butter Cups with Crunchy Quinoa
Highlighted under: Oven Inspiration
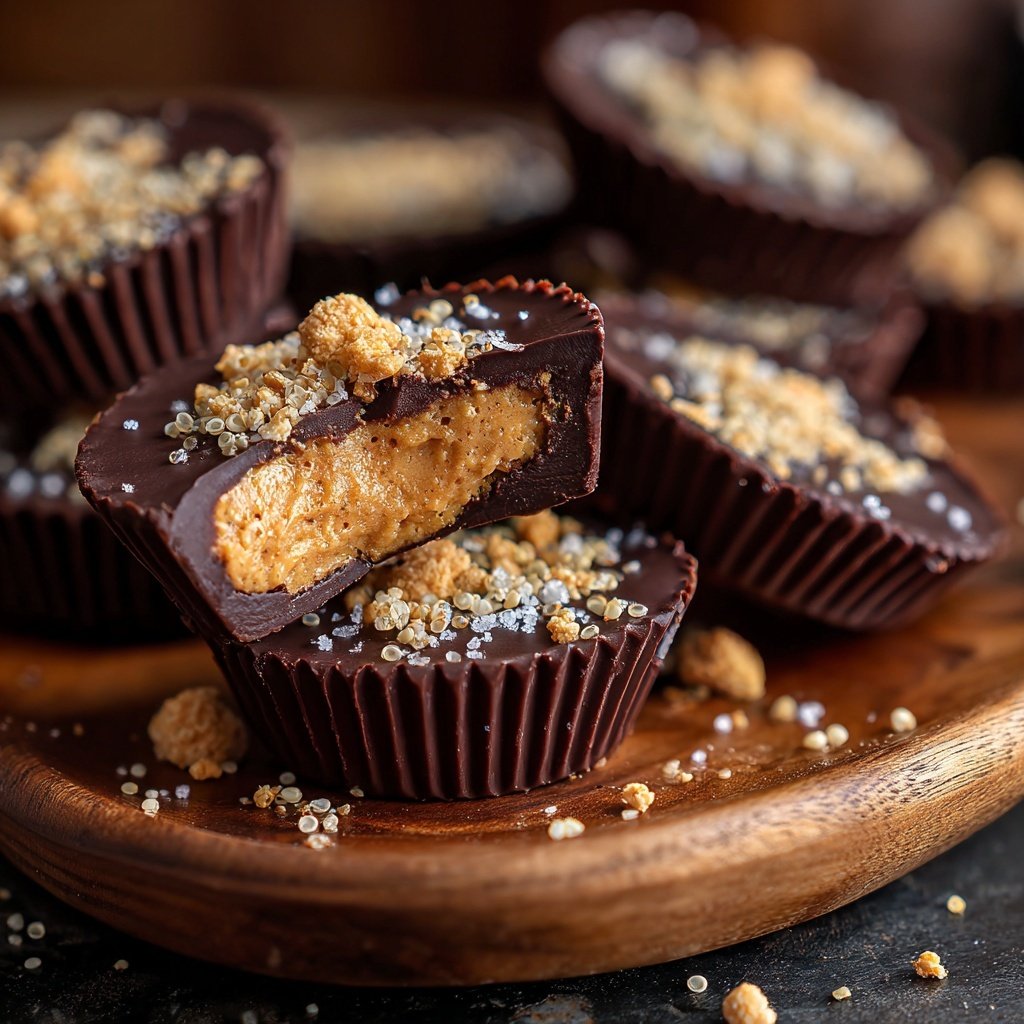
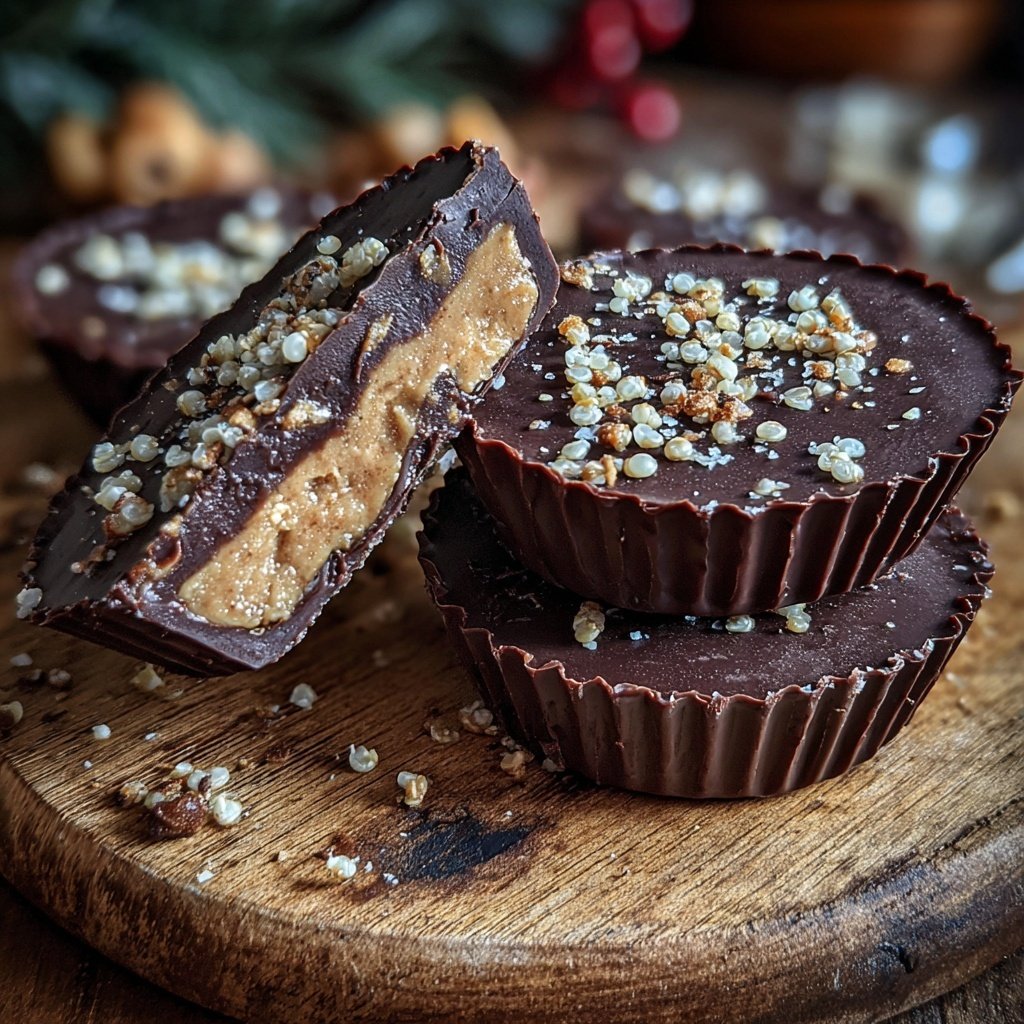
I absolutely love making Homemade Peanut Butter Cups with Crunchy Quinoa! There’s something so satisfying about crafting this classic treat from scratch. The combination of rich chocolate, creamy peanut butter, and crunchy quinoa creates a delightful texture that keeps me coming back for more. Plus, I get to control the ingredients, ensuring a healthier version without sacrificing flavor. Believe me, once you try these, you’ll wonder why you ever bought the store-bought ones.
When I first decided to make these Homemade Peanut Butter Cups myself, I was a bit skeptical about how they would turn out. However, using high-quality chocolate and the addition of crunchy quinoa was a game-changer. The quinoa adds a nutty crunch that pairs beautifully with the smooth, creamy peanut butter. I learned that tempering the chocolate properly makes a world of difference in texture and shine.
Another tip I discovered was to let the cups sit at room temperature for a few minutes after removing them from the fridge. This makes them easier to bite into without the chocolate shattering. My friends and family cannot get enough of these delicious treats, and I love serving them at gatherings!
Why You Will Love This Recipe
- Crunchy quinoa adds a delightful texture
- Rich chocolate flavor blends perfectly with peanut butter
- Homemade goodness that’s healthier than store-bought
Mastering the Chocolate Layer
Getting the chocolate layer just right is key to making delicious peanut butter cups. When melting the dark chocolate chips in the microwave, be sure to work in 30-second bursts, stirring each time to prevent overheating. If the chocolate becomes too thick or starts to seize, you can add a teaspoon of coconut oil to help regain smoothness. Remember, the ideal chocolate should be glossy and pourable, which will ensure an even coating for your cups.
After coating the cups, placing them in the fridge helps set the chocolate without overheating it. It’s essential that the chocolate is fully set before adding the filling; otherwise, the layers may not bond properly. You can tell the chocolate is ready when it feels firm to the touch and resists your finger pressure. This step guarantees a satisfying crunch when you take a bite.
Perfecting the Peanut Butter Filling
The peanut butter filling is the heart of this recipe, so choosing the right kind of peanut butter will significantly affect the flavor and texture. A creamy, natural peanut butter without added sugars or oils works best. You can substitute almond butter or sunbutter for a twist or if you’re catering to nut allergies. Mixing in ingredients like honey or maple syrup not only sweetens the filling but also gives it a creamy consistency that'll make it easy to fill the chocolate cups.
When incorporating the quinoa into the peanut butter mixture, ensure it’s well-cooked and cooled. This prevents any hard bits from forming and allows the quinoa to blend seamlessly with the filling. The quinoa not only adds crunch but also provides a protein boost, making these treats a bit healthier. If you prefer a sweeter profile, feel free to adjust the honey or syrup to taste.
Storing and Serving Your Peanut Butter Cups
Once your homemade peanut butter cups are set, you might be tempted to devour them all in one sitting. To store them, place them in an airtight container and keep them in the refrigerator for up to two weeks. For longer storage, consider freezing them. Just ensure they are well-wrapped to prevent freezer burn. They can be enjoyed straight from the freezer for a refreshing treat on a hot day or thawed for a few minutes at room temperature before serving.
Serving these delicious cups can be as creative as you like! They can be paired with a scoop of vanilla ice cream or enjoyed with a drizzle of additional melted chocolate on top. If you want to impress guests, consider sprinkling some flaky sea salt or chopped nuts on top right before serving. Adjusting the recipe to create festive variations for holidays, like adding crushed peppermint or dried fruit, can also elevate your homemade treat!
Ingredients
Ingredients
For the Peanut Butter Cups
- 1 cup dark chocolate chips
- 1/2 cup creamy peanut butter
- 2 tablespoons honey or maple syrup
- 1/4 cup cooked quinoa
- 1/2 teaspoon vanilla extract
- A pinch of salt
Make sure to prepare the quinoa in advance and let it cool completely.
Instructions
Instructions
Melt the Chocolate
In a microwave-safe bowl, melt the dark chocolate chips in 30-second intervals, stirring in between until completely smooth.
Prepare the Cups
Line a muffin pan with paper liners. Spoon a small amount of melted chocolate into each liner, tilting to coat the sides. Place it in the fridge for about 10 minutes to set.
Mix the Peanut Butter Filling
In a mixing bowl, combine the peanut butter, honey, quinoa, vanilla extract, and salt until well mixed.
Fill the Cups
Remove the chocolate-coated cups from the fridge and add a spoonful of the peanut butter mixture into each cup, leveling it off.
Top with Chocolate
Spoon the remaining melted chocolate over the peanut butter filling, ensuring it is fully covered.
Chill and Harden
Place the muffin pan back in the fridge for an additional 15 minutes or until the chocolate has hardened.
Serve
Once fully set, carefully remove the cups from the liners and enjoy your delicious homemade peanut butter cups!
Store any leftovers in the refrigerator in an airtight container.
Pro Tips
- For an extra touch, consider sprinkling a little sea salt on top of the chocolate before chilling for an added flavor contrast.
Scaling the Recipe
If you're planning to make a larger batch for a special event, this recipe doubles or even triples well. However, keep in mind that the melting and cooling times may vary slightly based on the quantity. You may need a larger muffin pan or multiple pans to accommodate the increased amount of chocolate and peanut butter filling. Just be careful to maintain equal thickness in the chocolate layers to prevent uneven setting.
When scaling, consider the distribution of chocolate and filling; the ratios ought to remain consistent for the best results. Use a kitchen scale for precision when measuring the ingredients, especially if you're adjusting the recipe significantly. This precision can make a difference in the final taste and texture of the cups.
Troubleshooting Common Issues
If you find that the chocolate layer is cracking when you bite into it, this may indicate that it has cooled too quickly. Ensure that it sets gradually in the fridge rather than at room temperature or in a colder environment, which can lead to rapid cooling and cracking. Allowing the chocolate to temper slightly before pouring it into the molds can help mitigate this issue.
Another common issue is the filling spilling out of the cups if they’re overfilled. It’s best to stick to a level spoonful of peanut butter mixture for each cup. If you notice any filling layering over the top before putting them back into the fridge, just give them a quick wipe with a knife to avoid a messy presentation and ensure a smooth chocolate topping.
Questions About Recipes
→ Can I use milk chocolate instead of dark chocolate?
Yes, milk chocolate can be used for a sweeter taste.
→ How do I store leftover peanut butter cups?
Keep them in an airtight container in the refrigerator for up to one week.
→ Can I use a different nut butter?
Absolutely! Feel free to substitute almond or cashew butter for a twist.
→ Is it necessary to temper the chocolate?
Tempering ensures a nice shine and snap, but it's not essential—just melt and cool will work too.
Homemade Peanut Butter Cups with Crunchy Quinoa
What You'll Need
For the Peanut Butter Cups
- 1 cup dark chocolate chips
- 1/2 cup creamy peanut butter
- 2 tablespoons honey or maple syrup
- 1/4 cup cooked quinoa
- 1/2 teaspoon vanilla extract
- A pinch of salt
How-To Steps
In a microwave-safe bowl, melt the dark chocolate chips in 30-second intervals, stirring in between until completely smooth.
Line a muffin pan with paper liners. Spoon a small amount of melted chocolate into each liner, tilting to coat the sides. Place it in the fridge for about 10 minutes to set.
In a mixing bowl, combine the peanut butter, honey, quinoa, vanilla extract, and salt until well mixed.
Remove the chocolate-coated cups from the fridge and add a spoonful of the peanut butter mixture into each cup, leveling it off.
Spoon the remaining melted chocolate over the peanut butter filling, ensuring it is fully covered.
Place the muffin pan back in the fridge for an additional 15 minutes or until the chocolate has hardened.
Once fully set, carefully remove the cups from the liners and enjoy your delicious homemade peanut butter cups!
Extra Tips
- For an extra touch, consider sprinkling a little sea salt on top of the chocolate before chilling for an added flavor contrast.
Nutritional Breakdown (Per Serving)
- Calories: 180 kcal
- Total Fat: 12g
- Saturated Fat: 6g
- Cholesterol: 0mg
- Sodium: 75mg
- Total Carbohydrates: 15g
- Dietary Fiber: 1g
- Sugars: 8g
- Protein: 5g